Electric clothes dryers are very simple devices which have not changed much in 50 years. While electricity is very efficient at generating heat (virtually 100% conversion from electricity to heat), it is not terribly economical. While there are now (as of 2024) heat pump based dryers, they are still fairly expensive (and I started this project almost 10 years ago anyway). I have undertaken to improve the economy of the basic, very reliable, electric clothes dryer.
My clothes dryer is a White Westinghouse Electric 27″ drum unit from 1988 or so, about 36 years old. I have had to repair / replace the main bearing, the idler pulley, the belt, and the front slides (multiple times). None of those repairs are terribly difficult once you get the hang of it. It was while replacing the idler pulley and belt that I was inspired to do this first upgrade (which I am calling phase 1). I noticed that the dryer pulled air from various places all close to the ground. My dryer lives in the basement and the floor in the basement is not the cleanest place (raw concrete on dirt).
Phase 1: Improved Airflow
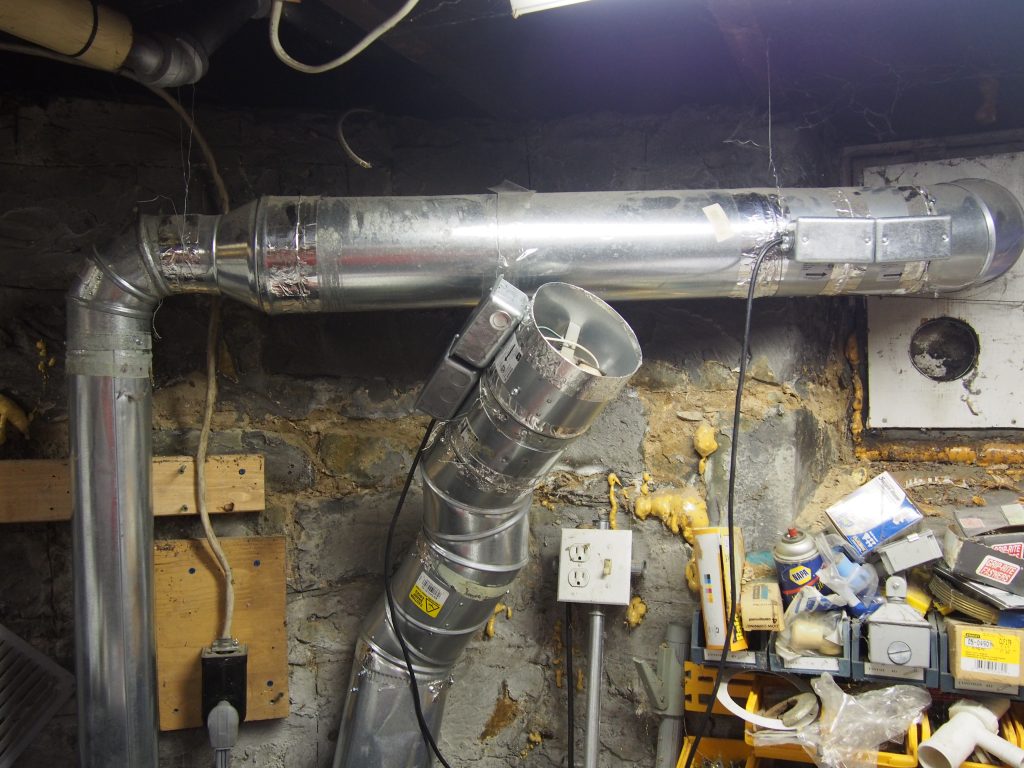
I decided to pull the air for the dryer from higher up, filter the air, and push it so that the air came in the way I wanted.1 I also decided to add helper fans to the exhaust. In my installation, the dryer vent runs straight up for about 5 feet and then makes a 90 degree turn to the right before heading another 5 feet across to the window and outside. I theorized that if I could increase the airflow through the dryer, it would remove moisture at a faster rate and would dry clothes faster, requiring the high current heating element to run for less time.
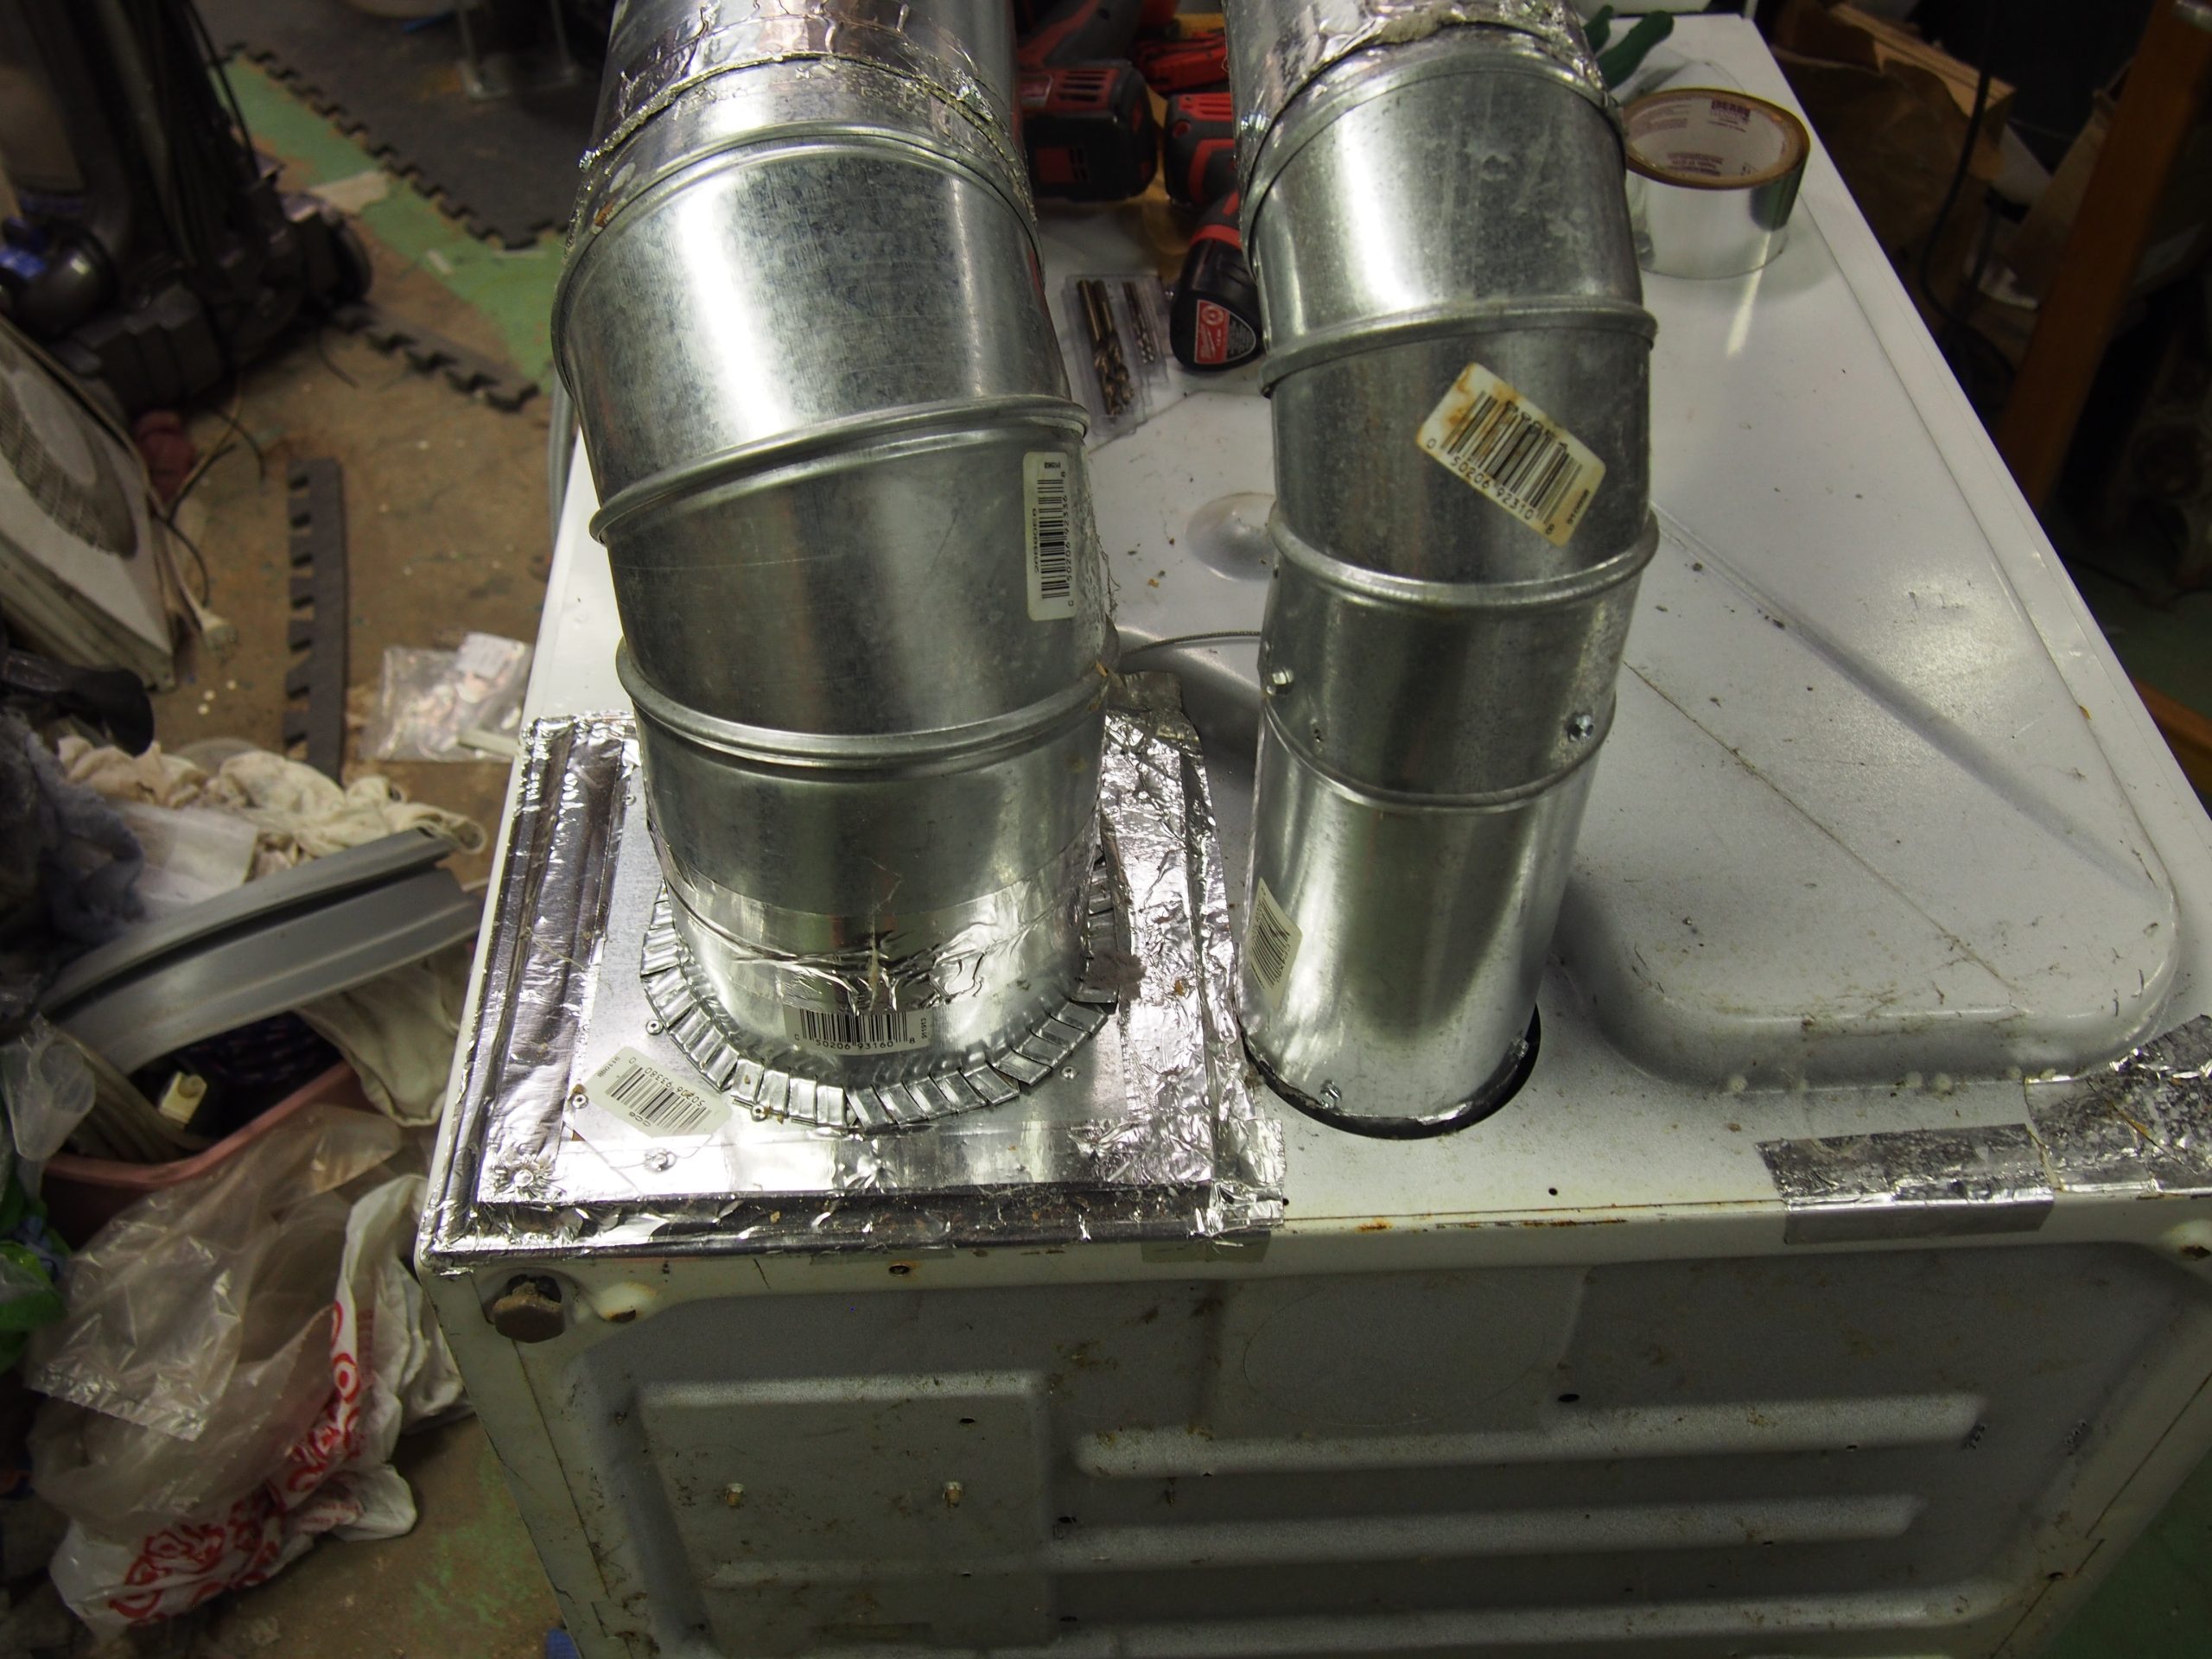
I went about closing off all the various slots and holes that the air came into the dryer cabinet through. I fashioned a replacement vent panel (where the majority of the air came in) that connected to a 6″ duct pipe. I used a pair of 6″ vent pipe “helper” fans in series to force the air in after sucking it through a HEPA filter element I had lying around.

On the exhaust side I ran 4″ duct up from the dryer exhaust connection (matching the exhaust connection size) as a I wanted to maintain the air velocity up the vertical segment so keep the lint flowing. Once I made the 90 degree bend to horizontal I increased the duct diameter to 6″ for the horizontal run. This causes a drop in velocity at that transition and any lint that is going to fall out of the air stream does so there, where it does not block the flow of air. Right before the duct leaves the house there are another pair (in series) of 6″ duct helper fans. I placed them here to keep them as far from the heat as possible. Neither fan has failed in about 10 years of use.

The above was all relatively easy as it was simple mechanical work. The hard part was to come, automatically running the external helper fans when needed. My first iteration just had them on a separate power cord that we plugged in before we used the dryer. I did not like this as there was the possibility of running the dryer without the helper fans, in which case those fans would put more load on the dryer blower and slow the flow of air, the opposite of what I wanted.

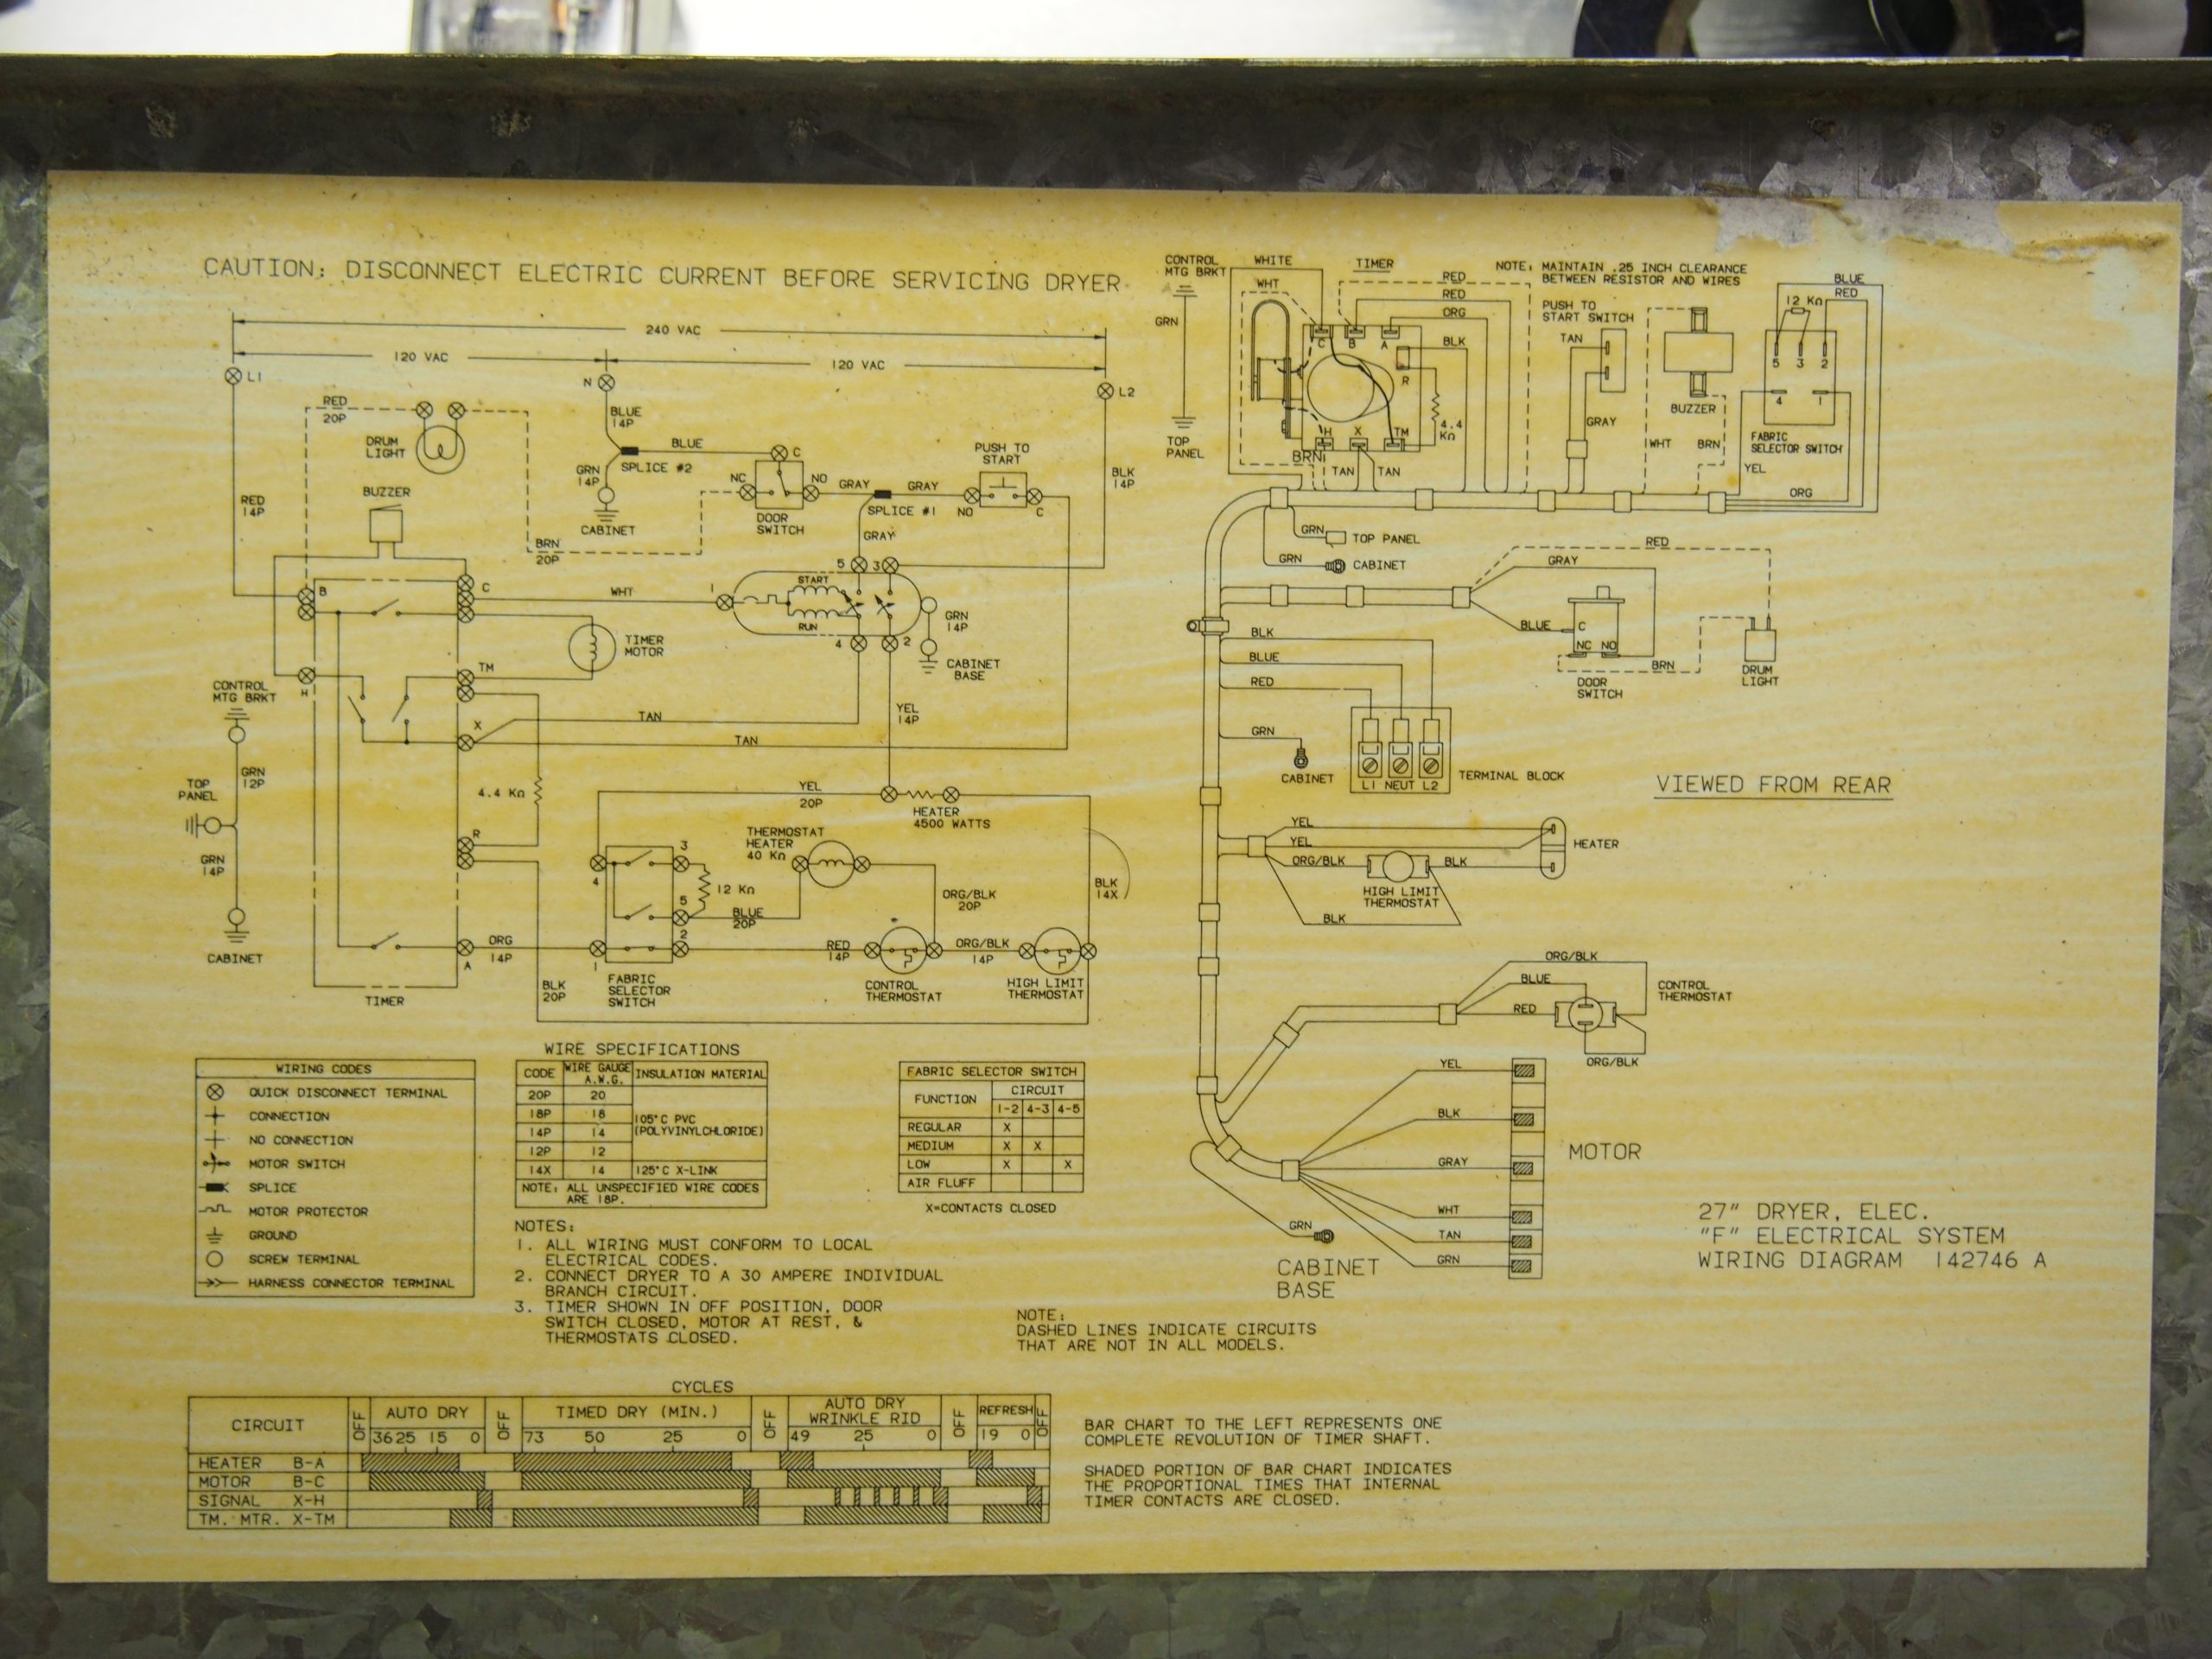
The dryer ran off of 240 volts and the helper fans needed 120 volts.2 So I needed to find a source of 120 volts and switched so that they only ran when needed. I decided that having them running whenever the internal motor that rotated the drum and ran the internal blower was running was the best option.

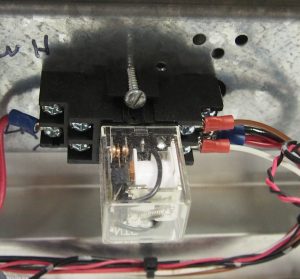
Looking at the above wiring diagram it became clear that the only thing that ran off of 240 volts was the heating element. I also wanted the power for the external helper fans to be party isolated from the internal circuits. I pulled power from WHITE and TAN (C and X on the timer switch) to run the coil of a relay that then switched the power to the external helper fans. The additional load the relay coil puts on the timer switch contacts is minimal.
The last change to the wiring (which I just did while putting phase 2 into place) was to have that power for the external helper fas come out on a duplex outlet on the back of the dryer and have the fans wired with normal NEMA 5-15 plugs. I know this is probably not strictly to code (using the NEMA outlet and plugs for a very specific purpose, but it is safe and makes it easy to separate the ducting from the dryer for maintenance).
Results
The automatic setting on the dryer has marks for less dry and more dry with 3 tick marks between them and 3 tick marks below less dry (more dry is at the very top). Prior to adding the external helper fans we needed to run the dryer almost all the way to more dry to have our clothes come out dry. After adding the external helper fans we could run the dryer one tick mark above less dry and the clothes were the same dryness (and much more lint in the lint filter).
Footnotes
- I learned about airflow management when I was a Broadcast Engineer. Most transmitters at the time had a blower that moved air through the transmitter and out a duct port. That duct port was typically vented to outside the building (often with a helper fan). The problem with this arrangement is that it lead to a net negative pressure inside the building, so air would come in through any gap or crack bringing with it any dust or dirt it picked up along the way. By configuring a blower to bring outside air into the building (via a filter to remove the dust and dirt) we then had the building at a slight positive pressure and that prevented dust and dirt from entering along any cracks or gaps. I later used this experience in computer server room and data center design. Bring air in and clean it on the way, keep the room at a slight positive pressure and you improve the air quality. ↩︎
- OK, I could have connected the helper fans in series and run them off of 240 volts, but I did not want a failure of one fan to stop the other, that is the other reason for 2, in series in terms of airflow and in parallel electrically, redundancy. ↩︎
